
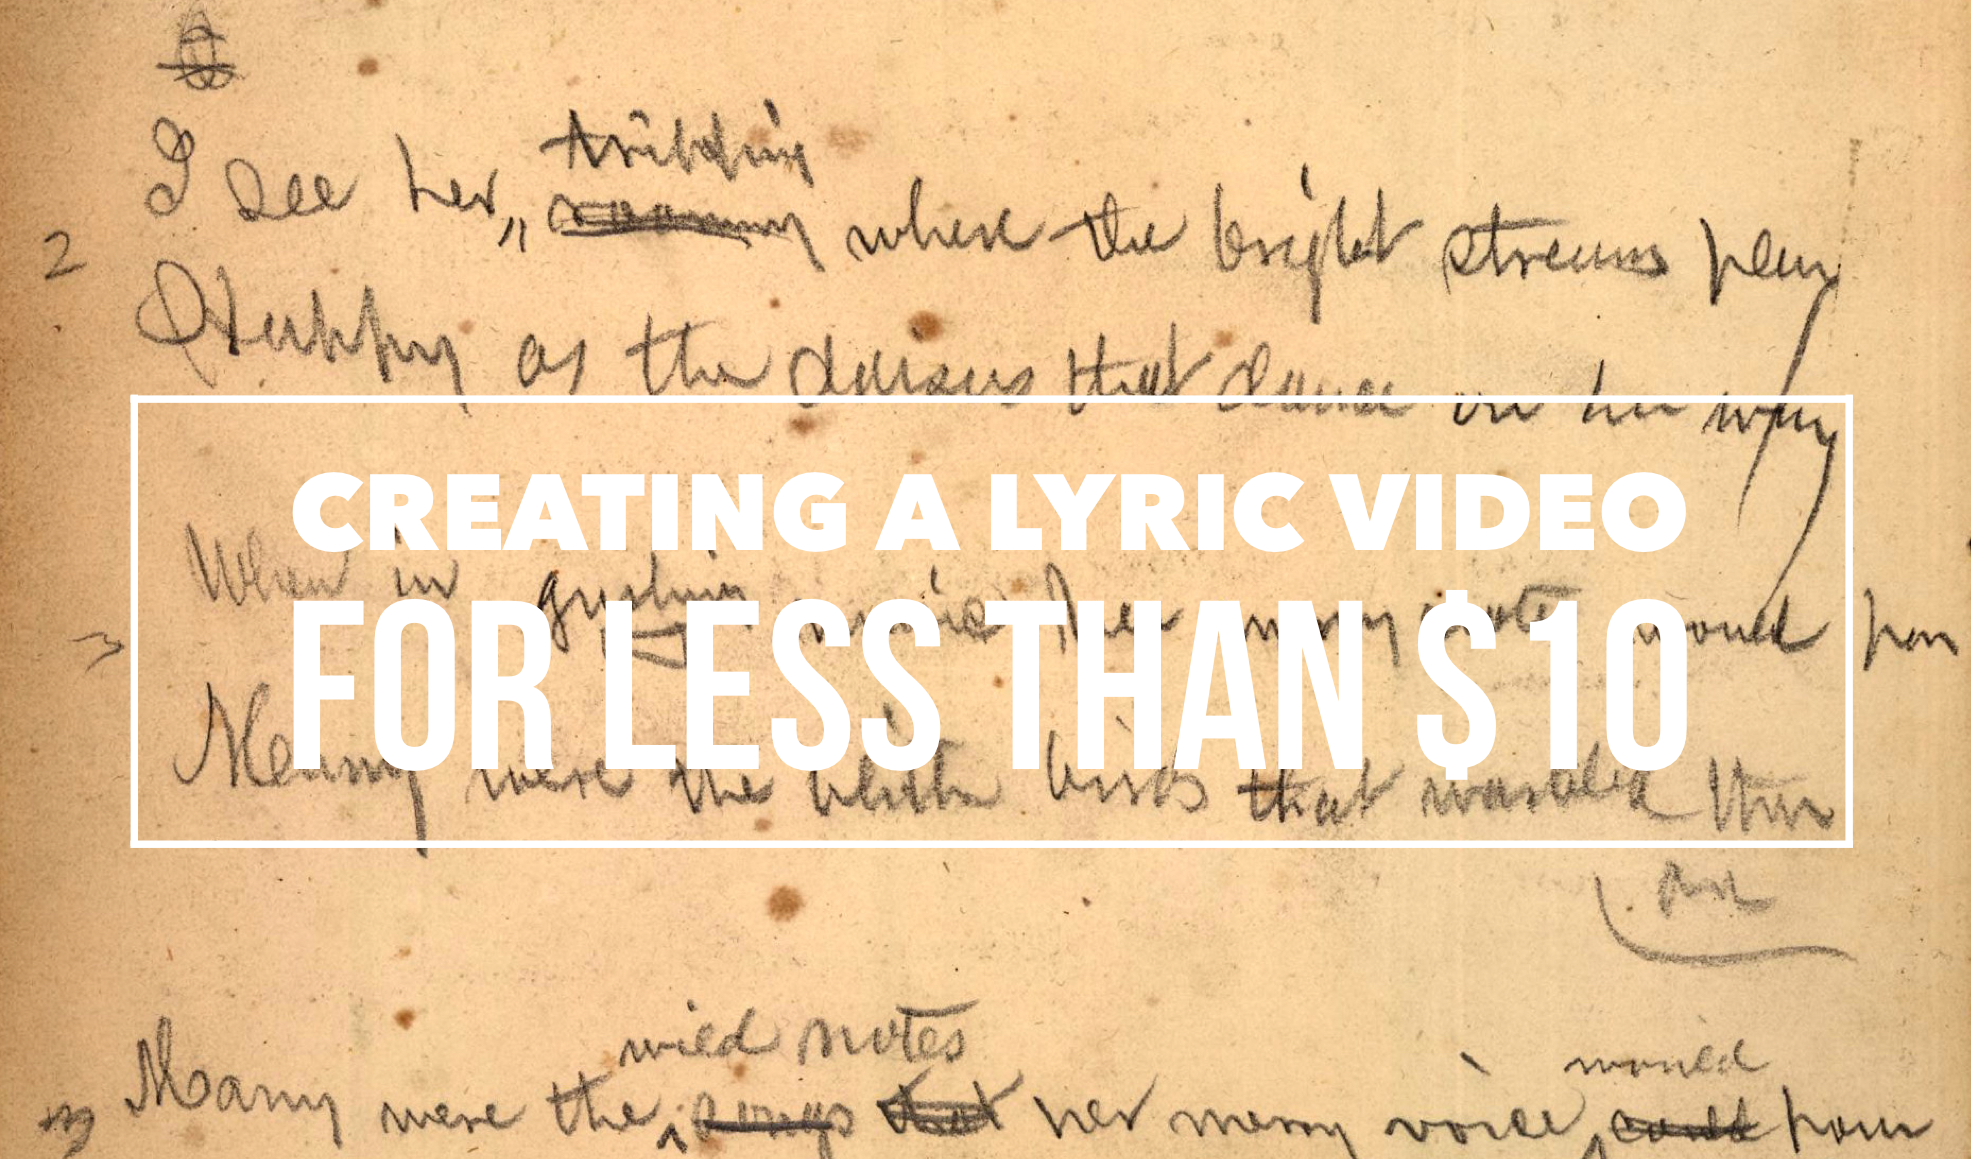
How to make a lyric video for your song (without using Motion or After Effects)
A lyric video is a video that shows your song lyrics while the music plays. [Pretty self-explanatory.]
Not only are lyric videos a great and manageable way to keep your video content coming in between bigger projects that involve more complicated production, but I’ve found they can actually be a lot of fun to make.
Below I’m going to talk about how I created six different lyric videos along with info on some of the tools I used that cost less than $10.
A few things to keep in mind:
- I’m not a video guy. Every time I make one of my own lyric videos it’s a process of trial and error. A pro could probably create something twice as good in half the time, but I enjoy playing around to find solutions on my own. Plus, video budget? (Pshaw).
- I’m just one artist. There are thousands of artists out there making really cool lyric videos, so this article isn’t to suggest my examples are the best ones. Just that, well, I know exactly how I made my videos, and hopefully the step-by-step process is helpful for you.
- You can make really cool lyric videos with programs like Motion and After Effects. I didn’t. For one, those programs cost money (see pshaw above). But diving into one of those programs would mean I have yet another learning curve to climb. I’m interested in exploring Motion at some point, but in between family, work, and everything else, I’d rather use what time is leftover to make music and bang out some videos, not hunker down in the lab for days on end. Maybe those programs are easier to use than I’m imagining, and I’m missing out (let me know in the comments), but for the sake of this article, let’s just refer back to the zero-budget appeal of making lyric videos WITHOUT Motion or After Effects.
- That leaves you with free video editing software like iMovie or Windows Movie Maker. Pros might scoff at these intro-level video production tools, but when you combine them with a few other tricks, plus some creativity, I think you can create compelling lyric videos with little more than what comes loaded on most desktops, tablets, or smartphones. [Full disclosure: I used Final Cut Pro X on some of the videos below, but I’d worked in iMovie for long enough before that to know most of the things I’m doing in FCPX can be done in iMovie.]
WARNING: Lyric Videos are NOT great for new fan acquisition
If you’re expecting your lyric videos to go viral, or to wow someone scrolling on Instagram who’s never heard of you before, you’ll be disappointed. Lyric videos are a deeper, but more demanding experience for listeners. That means most lyric videos will make for terrible outreach and ad content.
For your existing audience though, there will be a small set of fans that love your lyric videos sometimes even more than your “official” videos. These are for them!
Beginner tips for making a lyric video
- Open your movie-making software and set your new project’s aspect ratio to 16:9 for widescreen / horizontal / HD display.
- Import your song and any other media (like video clips, still images, logos, etc.) that you plan to use.
- Move your first clip or background image to the project pane. If you plan to use one static background image the whole time, you can click and drag to adjust the duration that it appears so it’s long enough to display during your whole song.
- Place your song into the project pane. If you want it to start playing right away, drag it all the way to the left. If you have a title page or some other introductory elements, you can leave a little room before the song starts.
- Use “titles” to place the lyrics on the video at the appropriate time during the song, matching with the vocals.
- Use a font size and style that’s readable (or that looks cool at the very least).
- Position your titles on the video (again, by dragging) so they appear in a place that’s legible. For instance, if you’re using a still image of a sandy beach below a light gray sky, you don’t want white font to appear over that sky. Better to drag it down so it appears with starker contrast over the dark sand.
- Make adjustments to the length of the titles (you can do this by clicking and dragging) to smooth out the transition from line to line.
- Watch your whole video a few times through and make any needed fixes.
- Pause on each “title” to proofread.
- Export your video file and upload it to YouTube, Facebook, Vimeo, etc.
Some tricks to spice up your lyric videos
This is the lyric video for my single “Collapsing Star” — a long fade-out kind of song about devotion in the face of aging — so I thought the visuals should do exactly what the music and lyrics do: fade, shrink, collapse.
The creation of this video involved some really basic elements:
- Still images of space that slowly evolve — I wanted there to be a extraterrestrial time-lapse effect, so I used some super hi-res photos from Unsplash, applied a very long cross-fade between each transition, and also used just an imperceptible touch of “Ken Burns” (an pre-installed effect in FCPX and iMovie that creates some motion using a still image).
- A shrinking sun — Scientifically speaking, I know stars don’t collapse in this way; they usually get big and bright before dwindling into white dwarfs or black holes. But I thought a slowly shrinking star would paint the lyrics in a haunting way, so I used Canva to create dozens of colored circles, each one small than the next. I then placed them on the timeline with overlap so that each one could (like the space images) fade into the next and depict shrinking. With the addition of some blur and some “stencil” effects, I was able to hint at dark sun spots and the rippling surface of a star, as well as the halo around a star.
- The twinkle of space — Because I was using static images, I needed to add some other light effects that made for a kind of twinkle or oscillation in the background stars. The main one I relied on was the “sketch” effect in FCPX.
- Text contrast — Since the star is bright and space is dark, I obviously needed to manually adjust the color of the letters so they would pop against the background. Black letters inside the star; white letters outside the star.
This is the lyric video to my song “Irretrievable Beauty.” To create it I followed all the basic steps mentioned above, but here are a few of the bonus elements I added for (hopefully) extra impact:
- Additional text — No one ever said a lyric video should contain ONLY your lyrics. So I wrote a bunch of other text (a letter from the 22nd-Century) and placed my lyrics within it. Check out the video and what I’m describing will make more sense.
- Color contrast of text — The actual lyrics of the song needed to be easily readable, so they’re all in black against a lighter background. The rest of the words are white, and it’s fine if they roll by without anyone being able to read them all. I intended to create the feeling of being flooded by text, so lots of it is supposed to wash over you.
- Public domain image — I found a super hi-res image from 1905 to use for the background of the video (and my cover artwork too), and slowly zoomed in throughout the whole video.
Above is the lyric video for my song “1+1+1=3.” Some of the things I did to make this video:
- Slow fade between different versions of the same photo — The background image for this video is the same as the cover artwork, a photo I took of arithmetic on a chalkboard. I then applied different filters to the photo to create three separate versions. While editing the video, I started by laying the three images out in a repeating pattern and then cross fading them all so it looks like there’s some kind of slow transformation happening.
- More extra text — The additional text in this video is nowhere near as crazy as in “Irretrievable Beauty,” but I wanted to add a few bits here and there. You’ll spot ’em.
- Directly reference the subject matter — The song is called “1+1+1=3.” Yes, it’s about love, but the math element was a fun visual reference point. Arithmetic on a chalkboard. Strange equations in the text. Etc. What’s the visual reference in your song?
Above is the lyric video for my song “Silently.” Some things I did to create this one:
- Hyperlapse sunset — One afternoon when I was visiting Oregon, I ran up to the top of Mt. Tabor (an extinct volcano in the heart of Southeast Portland) and found a good spot to film the changing sky as dusk fell. I made sure to be out of the way of anyone who might walk in front of the camera and ruin the looooooong time-lapse shot. Hyperlapse is a free app from Instagram, and it makes it easy to shoot long videos and then speed them up at various rates. I think my 4-minute music video required about 45 minutes of footage.
- Intro titles from Word Swag — If you read this blog frequently, you probably know I love Word Swag, a free app that lets you add cool fonts to images. I used Word Swag to create both the circle logo at the beginning with my name in it, and also the “Silently” title. You could use this app to create text for every single lyric, but that’d get time consuming so I just ended up using it for those two elements at the beginning. For this purpose, within Word Swag you’ll usually want to lay the font over a transparent background so you can fly it into whatever video you’re creating without disrupting the moving footage. [Note: I used Word Swag to create the intro text for all the lyric videos below.]
- Sketch effect — I then added some built-in effects, including a color saturation effect and two doses of a sketch illustration effect, to make the video look grainy and lo-fi. Like I said above, this wasn’t premeditated. Just playing around with effects to see what looked promising. On that note…
- Earthquake wobble effect — I used the earthquake effect because I thought it kind of made the text look like it was on a transparent slide overlay that was out of focus for a second.
- Alternating pacing of lyric appearances — Sometimes the lyrics appear and disappear with the vocal. Sometimes certain lines linger. I just went by feel, and payed more attention to how the titles looked laid out across the screen than anything particularly musical.
- Alternating the color of the text — This is another obvious way to add some variation if you feel like your lyric video is too much of the same thing: change the colors of the lyrics!
Here’s a video for a song called “Morning Edition” which I posted right before the election in 2016. The recording is actually just a super lo-fi Garageband demo, but I only had two weeks until election day, and I figured if I’m going to make some kind of statement, there’s no time to wait to get my band into a proper studio. So, a few notes about this lyric video:
- A lyric video can still have live action — I’ve never really liked the distinction between “music video” and “lyric video,” as if one is more legit and exciting than the other. As someone who listens to lyrics just as much as the music, I love good lyric videos, and I think there can be an interesting hybrid between these two approaches. For “Morning Edition” I lip-synced to my song, 10 seconds at a time, while using the Face-Swap tool in Snapchat to graft a certain someone’s mug onto mine. Then I edited all those takes together and applied a sharp contrast filter to blend the background of the Snapchat clips with the large black borders on both sides of the clips.
- Did I say the lyrics have to be legible? — Well sure, it’s good to have legible lyrics, but I don’t think they need to be HUGE if that means you’re ruining the aesthetic of the video. For this one I figured I’d keep the text in a thin minimalist font at the top of the screen, out of the way of my face, and anyone who really wanted to read along could watch the video in full-screen mode.
Here’s a lyric video I made for my song “Let You Go.”
I should mention that this one cost me more than $10, and that’s because I purchased some stock animation from Rotor (I think it was $30). In fact, I had Rotor create the basics of an animated music video FOR me. I exported it at 1080HD. And then the fun began:
- Green screen it! – I applied a keyer effect so that I could replace certain colors within the animation with additional footage (the way a green screen works).
- Loads of distortion – I also used a lot of effects to pixelate (intentionally), blur, shake, and distort the images. Static!
- Use a bar behind the words – I then added the lyrics across black bars that shift positions with each line. Plus the distortion I mentioned above.
Here’s the lyric video for my song “Veterans Day.” By complete accident — again, lots of playing around with built-in options — it ended up with a kind of Zen art aesthetic. Here’s how:
- Stock video — I looked through tons of stock video sites to find an affordable, hi-res clip that could be used as the background for the whole video. I ended up buying (for less than $10) a short video of milk being poured into a clear glass of water with a black background. But 6 seconds of video wasn’t going to cut it for a 5 minute song, so I…
- Slowed the clip WAY down — I stretched the clip as long as it could go and still only had about 2.5 minutes’ worth. So then I…
- Reversed the clip — By duplicating the clip I had 2.5 minutes of forward motion, and 2.5 minutes of backwards motion. So the result is like a palindrome, or like that famous bass solo on “Call Me Al.” Halfway through, the whole thing turns around and the milk goes back into the bottle by the end. Another accident that I ended up enjoying.
- Color inversion — I used the built-in tools to invert the colors so the white milk became like black ink, and the black background turned to a light gray.
- B&W — I then took that video and turned it to black and white, which ended up darkening the whole thing in a nice way.
- Scrolling text — One of the built-in title options on many video software programs allows you to scroll text vertically, like the end credits of a film. I used this effect separately for each verse and chorus of the song. Then I did another layer of scrolling text with just a bunch of randomly spaced letters and symbols, with a high transparency on the font so it appears as a graphic element, and I think it gives the whole video a kind a translucent papery feel.
Here’s a few things you might be able to learn from the lyric video to my song “Premiere:”
- Still photos are your friend — Check out royalty-free photo sites such as Unsplash. I made the entire video for “Premiere” using photos I found on that site. The one risk you run is that other artists use the same photos in their work, but you can always tweak the images so they’re barely recognizable as I did with the milk video in “Veterans Day.”
- Don’t be afraid of Ken Burns — He has a built-in video effect named after him for a reason; that technique of zooming in and out on still photos can be really effective for creating mood. Dynamics! Don’t go crazy or anything with the motion, but a little Ken Burns here and there can make flat photos come to life.
- Mix and match fonts — I used a bunch of different kinds of fonts on “Premiere,” giving each section of the song its own feel.
- Apply effects and transitions to the titles (text) too — Don’t forget that many of the same effects you can use on pictures and video will work to give your lyrics an interesting look as well.
- Don’t publish your video until you’ve proofread it a dozen times! — If you watched my lyric video for “Premiere” you might’ve found a typo. Whoops. I didn’t catch it until it’d been posted for over a week, and by then… oh well. Staring at text while you’re editing gets tiring. Your brain tricks you. While you’re in the process of creating, you might not catch something that seems glaringly incorrect later on. So get some bandmates and friends to watch the video a few times to make sure you don’t have any spelling or grammar issues on your lyrics (I mean, besides the usual grammar or syntactical issues that ALL lyrics have). Another way to limit errors is to…
- Write your lyrics out in Word and then paste them into your titles — When you type your lyrics in Word first, you get the benefit of the program’s spellcheck system. Some of the popular video editing software doesn’t have spellcheck, so paste those lyrics in after you’ve vetted them in the external doc.
Okay, those are some of the tricks I’ve used to make my lyric videos more interesting than just white font on a black background, all without paying for extra software or expensive stock footage and images. Hopefully they’re helpful as you create your next video.
Do you have any advice to add? I’d love to hear it. Holler in the comments below and be sure to post a link to your best lyric videos on YouTube!
Chris Robley is an acclaimed singer-songwriter and award-winning poet from Maine.
His Beatlesque indie-pop and milltown Americana songs have been praised by The Associated Press, No Depression, KCRW, The LA Times, Boston Globe, NPR, American Songwriter, and others.
His poems have appeared in Poetry Magazine, Prairie Schooner, The Poetry Review, and more.
Robley has received a Maine Literary Award in Poetry, Boulevard’s Emerging Writers Prize for Poetry, and in 2016 was selected by former US-poet laureate Robert Pinsky as a finalist for the Dorset Prize.