
Merchandise is a primary revenue stream for independent musicians. Recent studies show fans in 2025 are buying more than ever, averaging 2.1 items per purchase and $64 pre-tax on merchandise.
But success requires so much more than designing, printing, and bringing your merch to a show.
Whether you’ve already got a full merch line or you’re looking to creating your first product, this guide covers everything from choosing items fans want to marketing them effectively—online and in-person. Read on for actionable tips to improve your merchandise operations.
Start with your brand visuals
Your merchandise is an extension of your brand. As such, it should reflect the colors, concepts, and themes you explore in your music and visual artwork. Align your merch with your brand to make a powerful and accurate first impression on a new fan.
Choose merch items
Start simple. If you’re new to merch, stick to one or two timeless essentials like shirts, hoodies, or stickers that the average fan expects to find at a show or on your site. If you’re having trouble choosing, you can poll your audience directly over socials, sharing different merch mockups or types and asking for feedback on what excites them.
Here are some of the most common merch items to consider:
Apparel:
- T-shirts
- Hoodies
- Hats
Accessories:
- Stickers
- Posters
- Tote bags
For artists already flush with a typical inventory, don’t be afraid to get creative! Here are some more off-the-beaten path ideas:
- Buy a polaroid camera and take behind-the-scenes photos by the pack, then sell the developed packs!
- Cassette tapes and vinyl records are making a comeback. Whether fans have devices to play these or not, they can be fun keepsakes. Note that cassette tapes are notably cheaper than vinyl to produce.
- Key chains or lighters: These are small, easy to customize, and sure to get recognition when a fan puts them on their keys or carries them around.
Design, print, and order your merch
Once you’ve decided on merch items, it’s time to design and order your merch. Choose a design that aligns with your aesthetic. Remember that your merchandise is a way for fans to represent your brand so include your artist name.
When it comes to printing, you have a few options. You can order from a global merch company, a local business, or do it yourself! Working with a local printer can double as a networking opportunity.
You can also choose to order a stock amount of merch or order by fan-demand. Some printers will allow you to set up a design and place orders as you receive them from fans.
In deciding how much merch to order, consider your fanbase size, upcoming live shows, and how evergreen the merch is. Is it tied to a specific release or tour?
If it’s your first run of merch, order less than you think will sell—that will create scarcity and demand among your fanbase.
Price Your Merchandise
Price your merchandise to cover costs and ensure profit. A good rule of thumb is to price retail at least double the production cost. Typical ranges for reference are below:
- Shirts: $20–30
- Hats: $25–30
- Hoodies: $30–40
- Stickers: $5 or free with an email signup
- Posters: $10 or less
- Tote bags: $15–25
What to do once your merchandise arrives
You can take several steps once your merch arrives to ensure it’s organized and ready to sell.
First, if you’ve ordered merch in various sizes or designs, sort and label them. A common practice with clothes is to roll them up with painter’s tape and label the item size (and other relevant descriptors) on the tape.
Then, you’ll need to prepare assets for marketing your merchandise in-person and online.
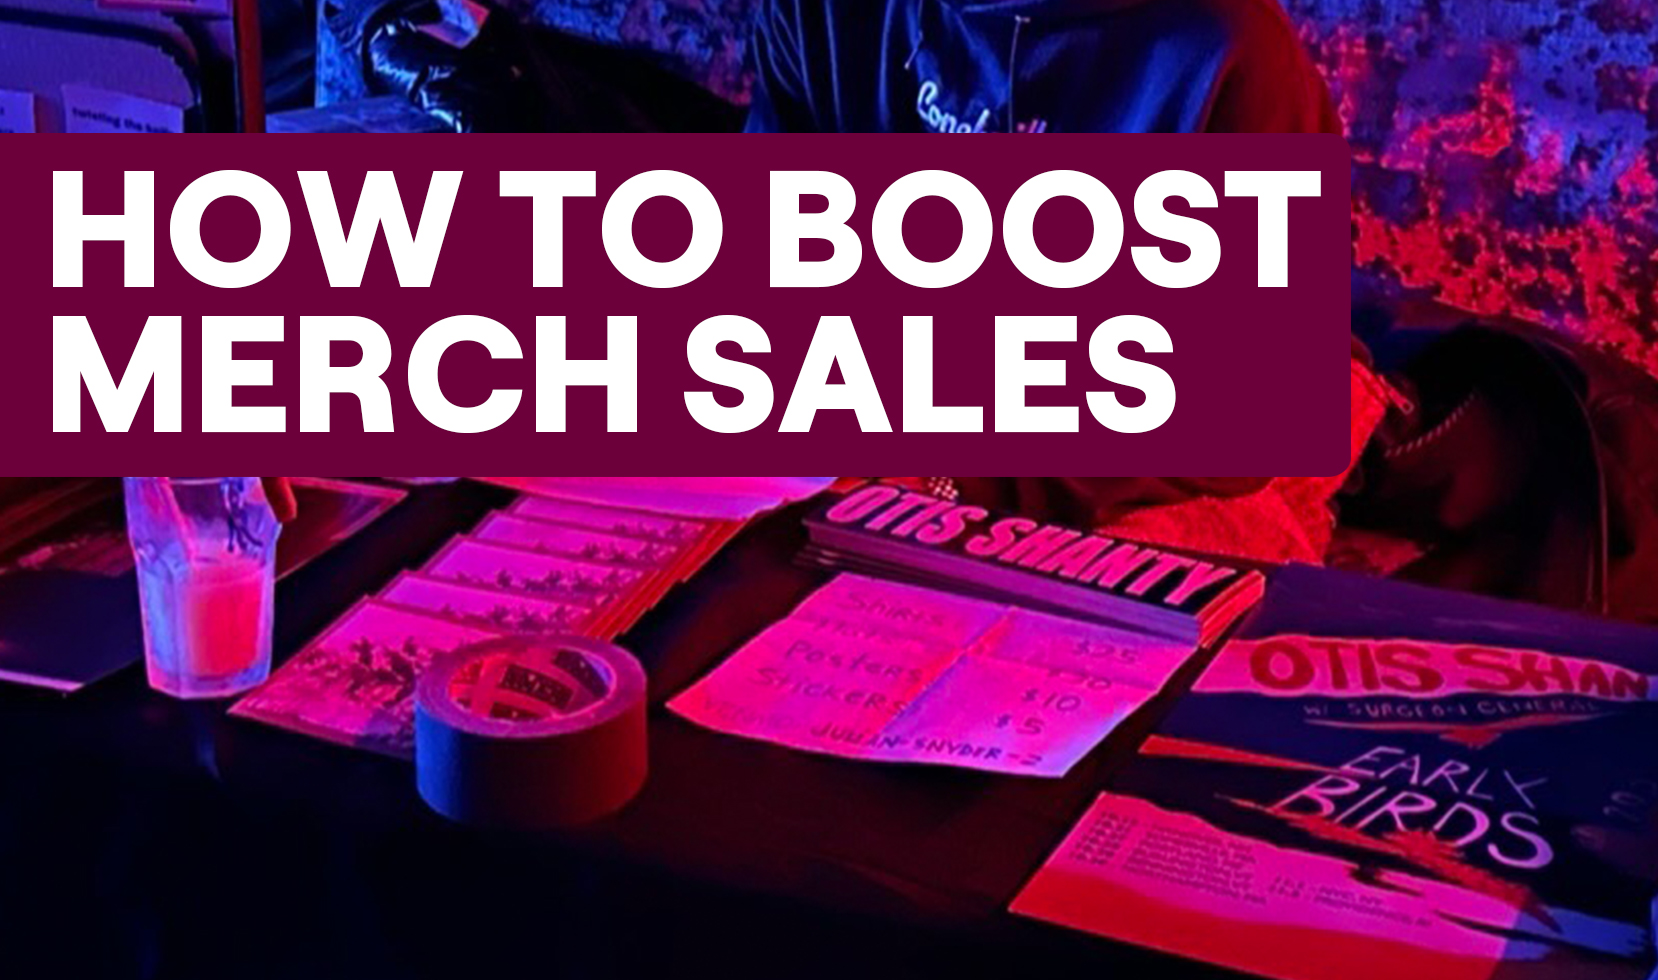
- In-person: Create a merch table sign with prices and a method of payment. It’s handy to have at least one way of accepting electronic payments – available through QR code.
- Online: Take high quality photos of the merchandise set up and on models (you can model your own merch!)
Other things to order once you have merch:
- A plastic storage bin to hold it all
- A cash box (any small box you already have will do)
- A sign-holder for your price information sheet
- A light-source for dark rooms (small lamp, string lights, or light orb work well)
- Hangers for clothes
- Optional: Gridwall panels can be helpful for artists playing small rooms or DIY venues, though many venues have their own for you to use
Last but most importantly, designate a seller to work your merch table. Having a dedicated merch seller ensures your table is always staffed and someone else is monitoring inventory and handling transactions. This saves you time, but also improves your sales operations.
Tips to sell your merchandise in-person
If you’re an independent artist routinely playing live shows, you have ample opportunity to sell your merch in-person. But it takes preparation, organization, and sales skills.
First, organize your merch to ensure quick sales. Especially as an emerging artist, you will risk losing new fans if your merch line moves slowly. Keep shirts organized by labeling and sorting them, knowing your prices, and having the right payment methods available.
Second, be thoughtful about your display. Merch that’s well-presented sells better. Have your merch sign ready. Iron your display shirts, line up your hats, splay out your stickers, and bring what you can to create good mood lighting like a small clip-on lamp.
Third, be a good salesperson and/or have a designated merch seller. Mention merch at appropriate times during your set and if you stand by the merch table after (which you should), be friendly, greet your fans, and thank them for coming by.
Tips to sell your merchandise online
Selling merch online is about presentation, channel placement, and purchase flow. You want your merchandise to appeal to your audience, be available in the right places, and be easy to buy.
Choose an online payment processor:
- Shopify is great for cross-platform sales
- PayPal is great for more native sales like a DIY website
Buy shipping materials:
- Many fans who buy online will want their items shipped. Order shipping bags and some paper or bubble wrap to protect your items
Use high quality photos of your merchandise:
- Model your merch on a person, display on a surface, or creatively photograph to create intrigue
Meet your fans where they are:
- Create a merch page on your website
- Create a merch store on major streaming platform stores like Spotify, TikTok, YouTube, and more (more information at the links)
- Post links to your merch within your social media bios and landing pages like HearNow
Promote your merch strategically:
- Announce hype-building merch drops on social media
- Pair merch with any other major activity like upcoming releases or tours
- Send merch previews to your email list, text list, or closed social media groups
Drive sales with flash sales or discounts:
- Clear out older merch items by running flash sales
- Offer fans discounts in exchange for a repost, email address, or other action
- Offer sales when there’s a moment to celebrate like an upcoming release
Common Pitfalls to Avoid
Keep your merchandise operations smooth and successful by avoiding the following pitfalls:
- Don’t over-order inventory: Sitting on merch that doesn’t sell is just tied up cash. Always lean conservative with your orders. If you sell out of an item, you can make it news. If you still have demand once an item sells out, you can order more and post you ordered more after the first shipment sold out.
- Don’t skimp on quality: Ultimately, you want your fans to love your merch, wear it all the time, and show their friends. Buying poorly made merch only hurts your chances and isn’t worth what it saves you on the bottom line.
- Not promoting enough: Be active about selling your merchandise in-person and online by taking the necessary steps to prepare and promote your items.
- Pricing too high or low: High prices can ward off potential customers while low prices will make it difficult to turn a profit. Be realistic and fair with your pricing to ensure sales.
Conclusion
As an independent artist, your merch is an essential revenue stream. Success stems from great designs and offerings, staying organized, and promoting strategically.
If you found this guide helpful, here are a few practical next steps to get started:
- Test demand with 1–2 low-risk items
- Poll your fans on product types (and designs if you’re stuck)
- Partner with a reliable printer (local, global, or print-on-demand)
- Prep your sales channels with quality photos, pricing, and payment options
- Promote merch alongside releases, shows, and email campaigns